
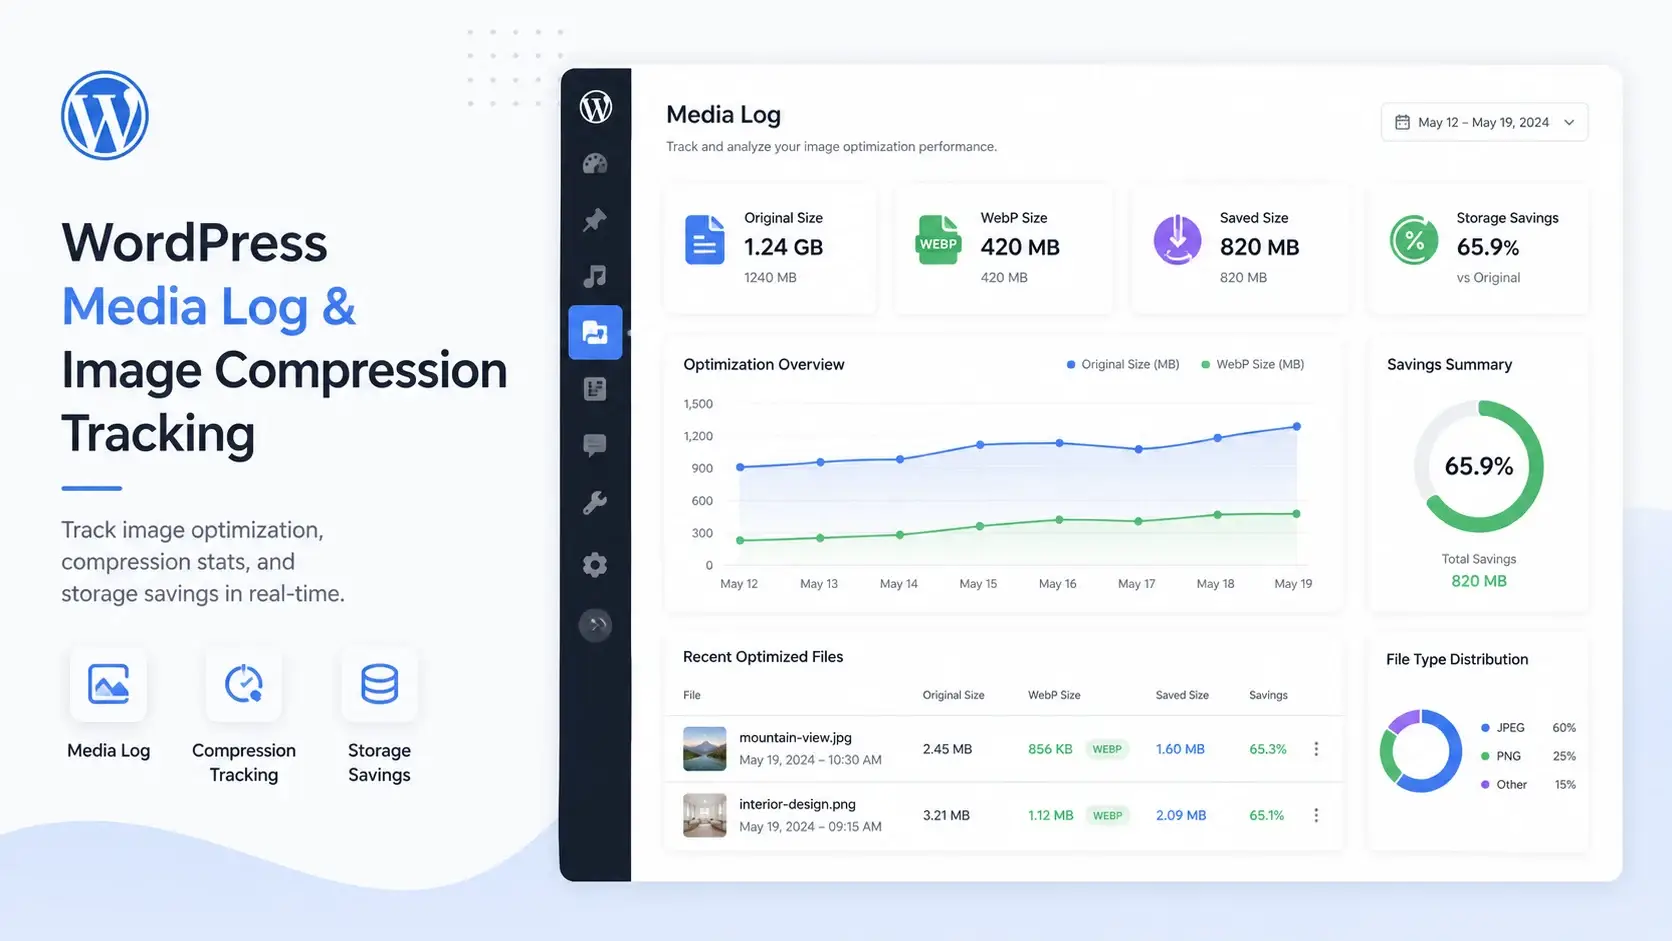
Images are one of the biggest reasons a WordPress website becomes slow and consumes unnecessary storage. Even after compressing images, many website owners still struggle to understand what actually changed after optimization.
Which images were compressed?
How much storage was saved?
What was the original image size?
What is the new WebP size?
This is where a WordPress media log plugin becomes extremely useful.
A media log allows you to monitor image optimization activities directly from your dashboard. Instead of guessing whether compression is working, you can view detailed image statistics, compression history, and storage savings in one place.
In this guide, you’ll learn how media tracking works in WordPress, why it matters, and how tools like WordPress plugins such as Nix Image Optimizer can help you manage compressed images more efficiently.
Why Media Tracking Matters in WordPress
Many website owners install an image optimizer and never check what happens behind the scenes. While automatic compression is convenient, monitoring results is equally important.
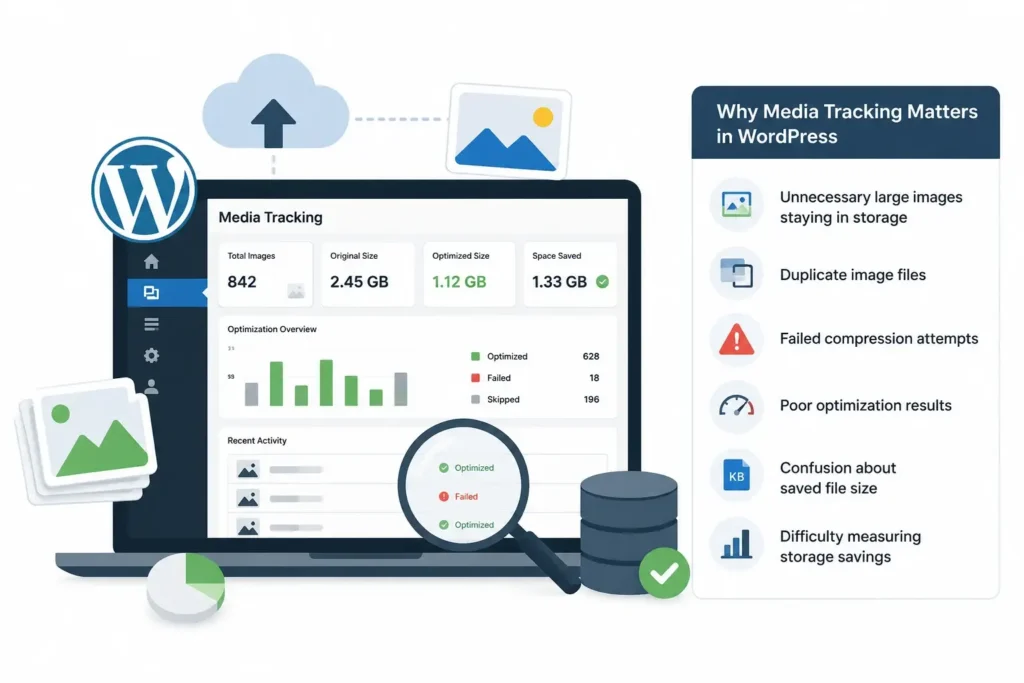
Without proper media tracking, you may face issues like:
- Unnecessary large images staying in storage
- Duplicate image files
- Failed compression attempts
- Poor optimization results
- Confusion about saved file size
- Difficulty measuring storage savings
A media log solves these problems by creating a transparent image compression report for every uploaded image.
This becomes especially valuable for:
- Bloggers
- WooCommerce stores
- News websites
- Portfolio websites
- Agencies managing multiple client sites
If your site uploads dozens or hundreds of images regularly, tracking optimization performance can save both bandwidth and hosting costs.
What Is a WordPress Media Log Plugin?
A WordPress media log plugin records and displays detailed information about image optimization activities inside your dashboard.
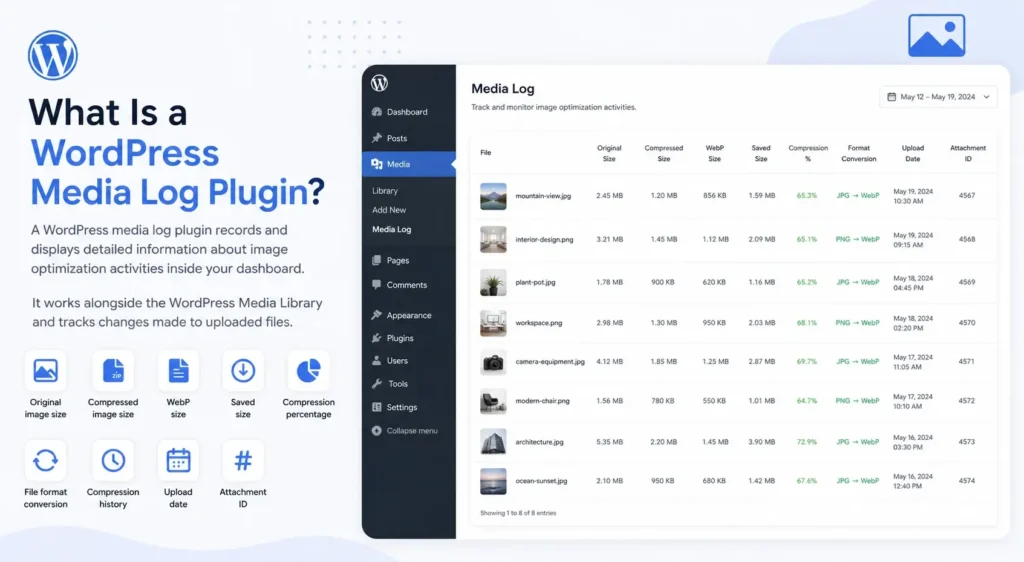
It works alongside the WordPress Media Library and tracks changes made to uploaded files.
A typical media log includes:
- Original image size
- Compressed image size
- WebP size
- Saved size
- Compression percentage
- File format conversion
- Compression history
- Upload date
- Attachment ID
Instead of manually comparing files, the plugin automatically stores these details and presents them in an organized dashboard.
How Media Logs Help Track Compressed Images
When an image is uploaded to WordPress, optimization plugins often create additional compressed versions such as WebP images.
A media log helps track every stage of this process.
1. View Original Image Size
Before optimization, the plugin records the original size of the uploaded image.
For example:
| Image | Original Size |
|---|---|
| banner.jpg | 4.8 MB |
| product-image.png | 2.1 MB |
Knowing the original image size helps you understand how heavy your uploads are before compression.
2. Monitor WebP Size
Modern optimization plugins generate WebP versions because they are smaller and load faster.
The media log displays the generated WebP size so you can compare results.
Example:
| Image | Original Size | WebP Size |
|---|---|---|
| banner.jpg | 4.8 MB | 780 KB |
This gives a clear understanding of how effective WebP conversion actually is.
3. Calculate Saved File Size
One of the most useful metrics is the saved size.
A good media tracking system automatically calculates how much storage was reduced after compression.
Example:
| Image | Original Size | Optimized Size | Saved Size |
|---|---|---|---|
| product-image.png | 2.1 MB | 490 KB | 1.61 MB |
Over time, these savings become significant for large websites.
4. Keep Compression History
A compression history log records every optimization action.
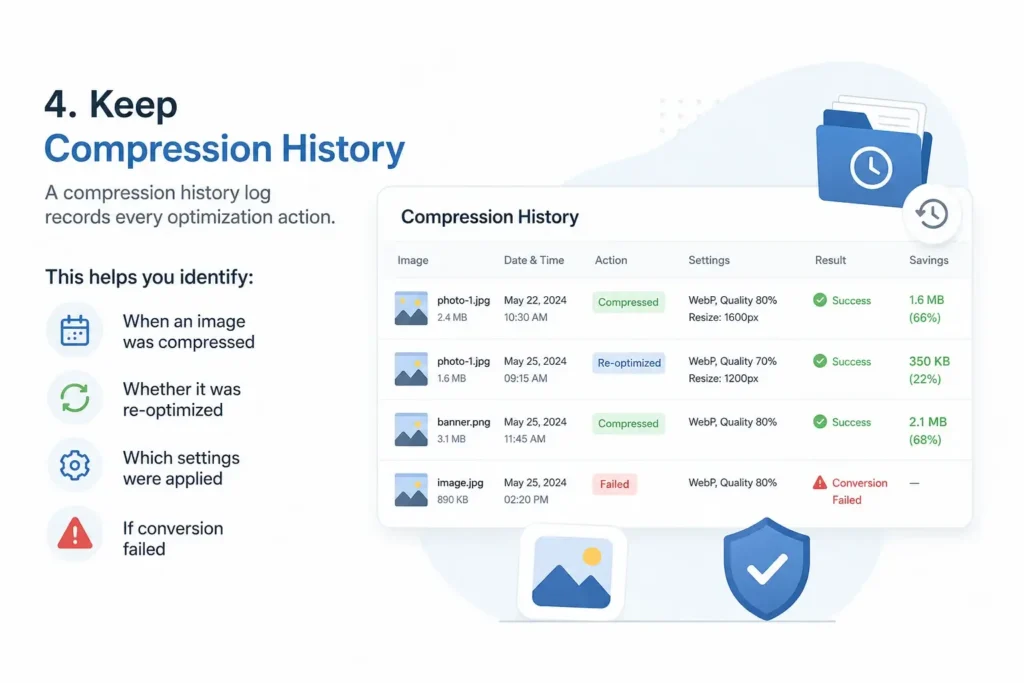
This helps you identify:
- When an image was compressed
- Whether it was re-optimized
- Which settings were applied
- If conversion failed
For developers and agencies, this level of tracking is extremely helpful during troubleshooting.
Important Image Statistics You Should Track
A quality image compression report should include several essential metrics.
Original Size
Shows the size of the uploaded image before optimization.
WebP Size
Displays the final size after conversion to WebP format.
Saved Size
Shows the exact amount of storage reduced.
Compression Ratio
Measures optimization efficiency in percentage form.
Attachment ID
Each image in WordPress has a unique attachment ID used for media tracking and database management.
Compression Date
Useful for auditing recent optimization activities.
Benefits of Using a Media Log Plugin
Better Storage Management
Tracking storage savings helps reduce unnecessary hosting usage.
This is especially useful for websites with limited disk space.
Faster Troubleshooting
If an image appears broken or missing, you can quickly inspect the compression history and identify the issue.
Improved Website Performance
Monitoring optimization results helps maintain consistent image quality while reducing file size.
Smaller images improve:
- Page speed
- Core Web Vitals
- Mobile performance
- User experience
Easier Media Organization
Media tracking makes it easier to manage thousands of images inside the WordPress dashboard.
You can quickly identify:
- Large files
- Unoptimized uploads
- Failed WebP conversions
- Duplicate media files
Using Nix Image Optimizer for Media Tracking
Plugins like Nix Image Optimizer provide advanced image statistics and detailed media tracking features.
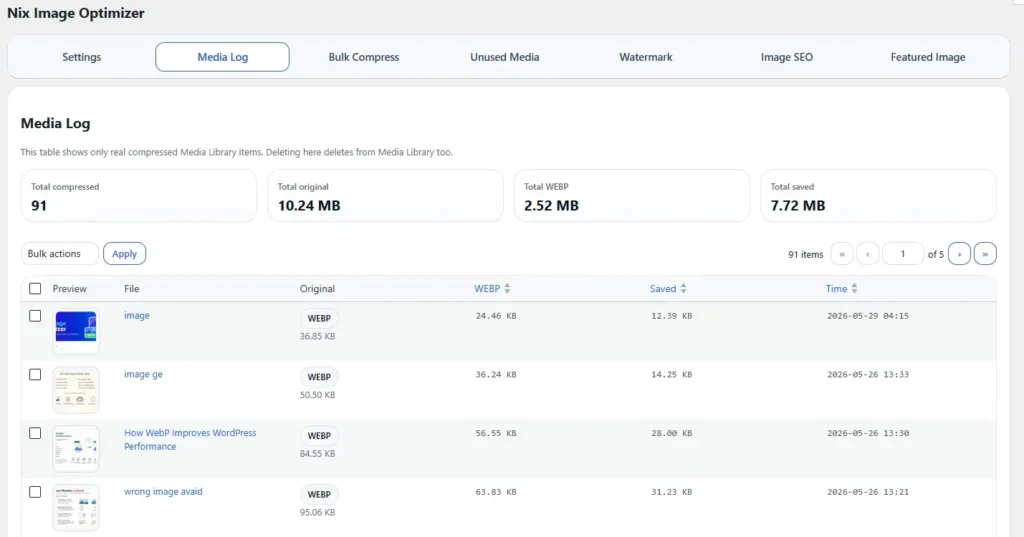
These tools can automatically:
- Compress JPG and PNG images
- Convert uploads to WebP
- Record compression history
- Show original size and WebP size
- Display saved file size
- Generate image optimization reports
Instead of manually checking files on the server, everything becomes visible directly inside the WordPress admin panel.
This creates a much more efficient workflow for website owners and developers.
Best Practices for Image Compression Tracking
To get the best results from a WordPress media log plugin, follow these practices:
Compress Images Automatically
Enable automatic optimization during uploads to prevent oversized images from entering the media library.
Regularly Review Image Statistics
Check storage savings and compression reports weekly to monitor optimization performance.
Remove Unused Files
Old and unused images still consume hosting space.
Use media tracking tools to identify unnecessary files.
Use WebP Conversion
WebP images usually provide better compression compared to JPG or PNG formats.
Tracking WebP size helps confirm conversion efficiency.
Monitor Large Uploads
Pay attention to unusually large files because they can affect both performance and storage usage.
Final Thoughts
A WordPress media log plugin is more than just a reporting tool. It gives complete visibility into your image optimization process.
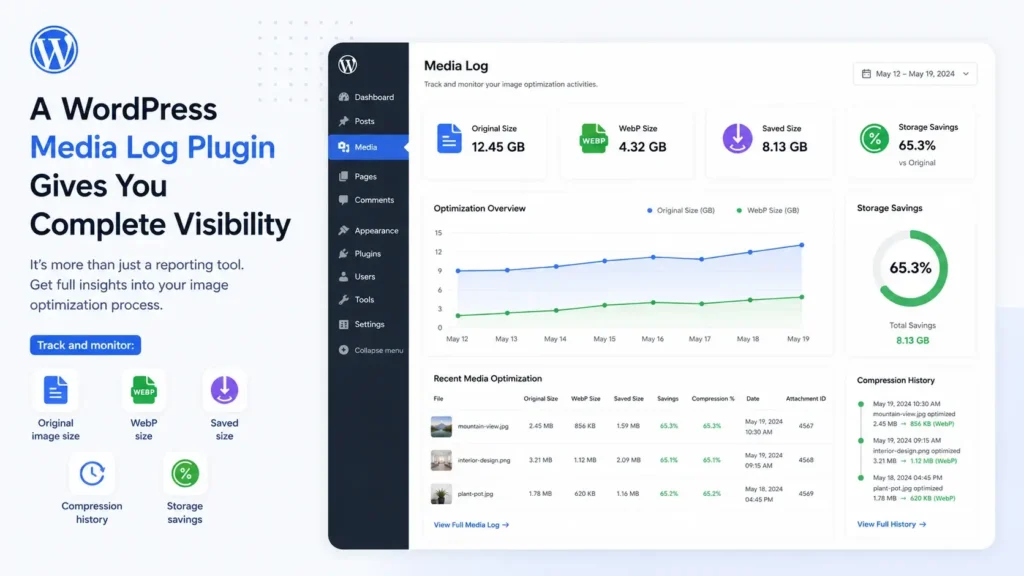
By tracking:
- Original image size
- WebP size
- Saved size
- Compression history
- Storage savings
you can better manage your media library and improve overall website performance.
For websites that publish images regularly, media tracking becomes an essential part of optimization and maintenance.
Whether you run a blog, business website, or WooCommerce store, tools like Nix Image Optimizer can help you maintain a cleaner, faster, and more storage-efficient WordPress website.