
Website speed matters more than ever. Large image files can slow down loading times, affect user experience, and reduce overall performance scores. That’s why many WordPress website owners are switching to WebP image optimization.
But one question appears frequently:
What are the best WebP quality settings for WordPress?
Choosing the right compression level is important because it directly affects image clarity, file size, and page speed. A quality setting that is too high may keep files unnecessarily large, while a setting that is too low can make images blurry.
In this guide, we’ll explain the ideal WebP quality settings WordPress users should use, how compression works, and how tools like Nix Image Optimizer help automate the process.
What Is WebP Compression?
WebP is a modern image format designed to reduce image size while maintaining strong visual quality.
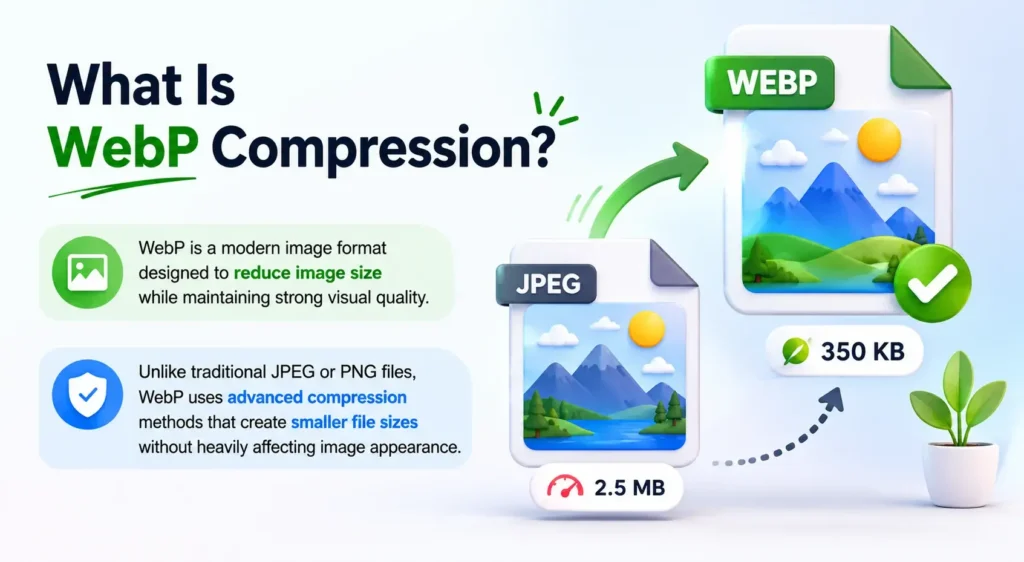
Unlike traditional JPEG or PNG files, WebP uses advanced compression methods that create smaller file sizes without heavily affecting image appearance.
There are two main types of WebP compression:
Lossy Compression
Lossy Compression removes some image data to reduce file size significantly.
Benefits include:
- Smaller image sizes
- Faster loading times
- Lower bandwidth usage
- Better website performance
This method is commonly used for blog images, featured images, and website graphics.
Lossless Compression
Lossless Compression preserves all image data while still reducing file size.
This is useful when image accuracy matters, such as:
- Logos
- Transparent graphics
- UI assets
- Design elements
Lossless compression usually creates slightly larger files than lossy compression.
Why WebP Quality Settings Matter
The WebP quality level controls how aggressively images are compressed.
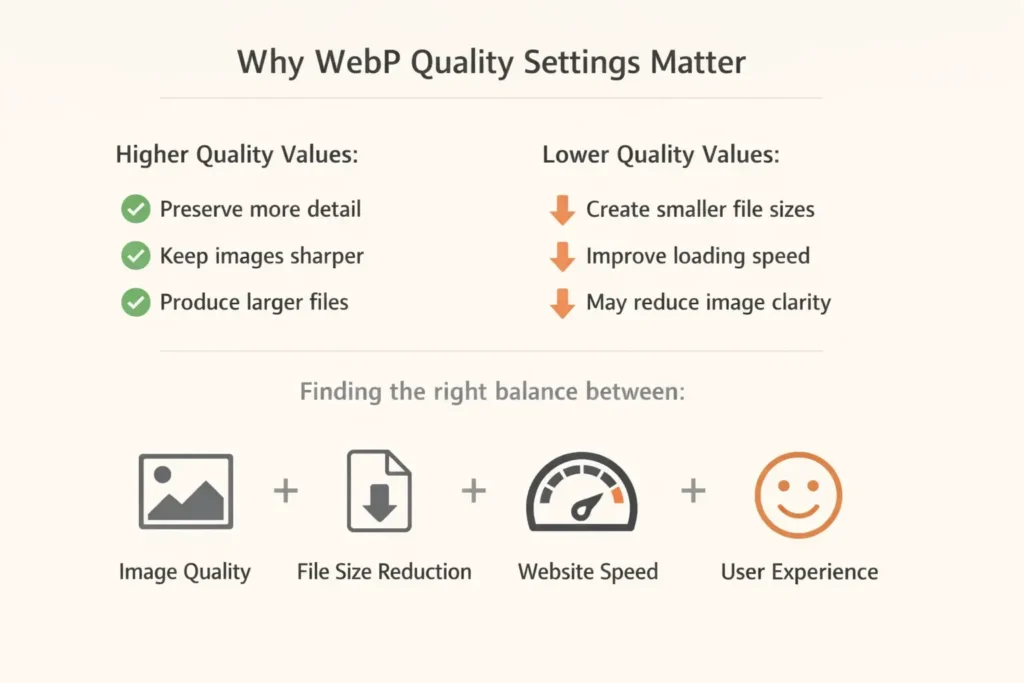
Higher quality values:
- Preserve more detail
- Keep images sharper
- Produce larger files
Lower quality values:
- Create smaller file sizes
- Improve loading speed
- May reduce image clarity
The goal is finding the perfect balance between:
- Image quality
- File size reduction
- Website speed
- User experience
For most WordPress websites, this balance is extremely important because images often make up the majority of page size.
Best WebP Quality Range for WordPress
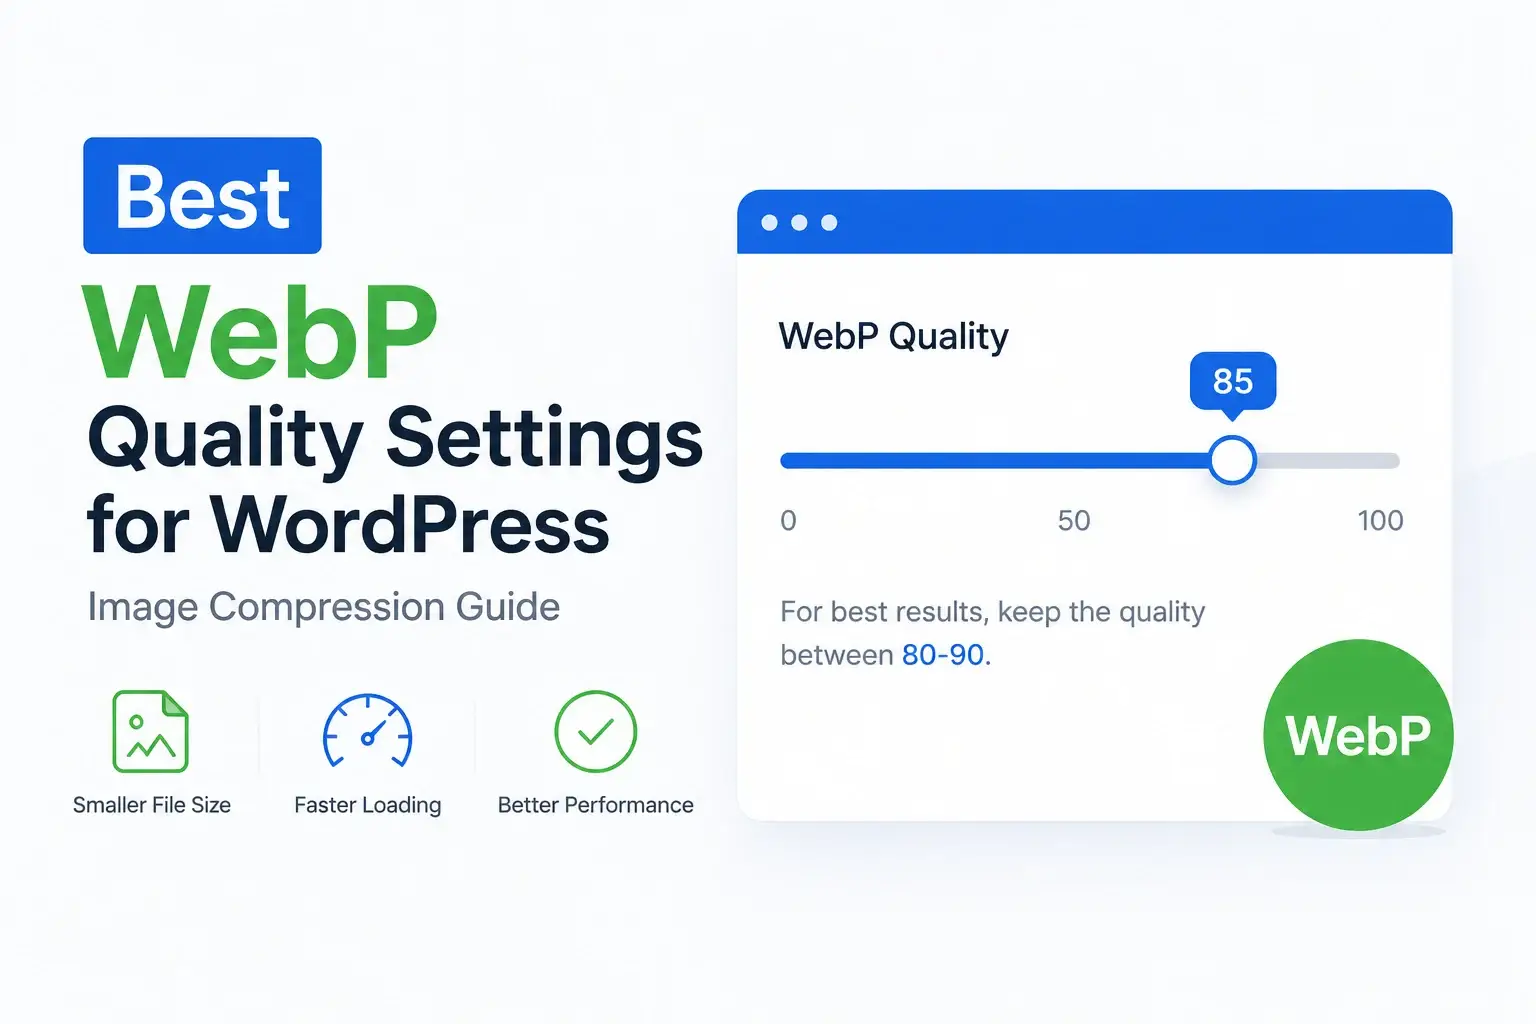
For most websites, the ideal WebP quality setting is usually between 80 and 90.
Here’s a simple breakdown:
| Quality Level | Result |
|---|---|
| 60–70 | Very small files but visible quality loss |
| 75–85 | Balanced compression and visual quality |
| 85–90 | Higher quality with moderate file reduction |
| 95+ | Minimal compression and larger files |
Most WordPress sites perform best around 82–85 quality because it keeps images visually clean while still reducing file size significantly.
How WebP Improves WordPress Performance
Optimized images can noticeably improve website performance metrics.
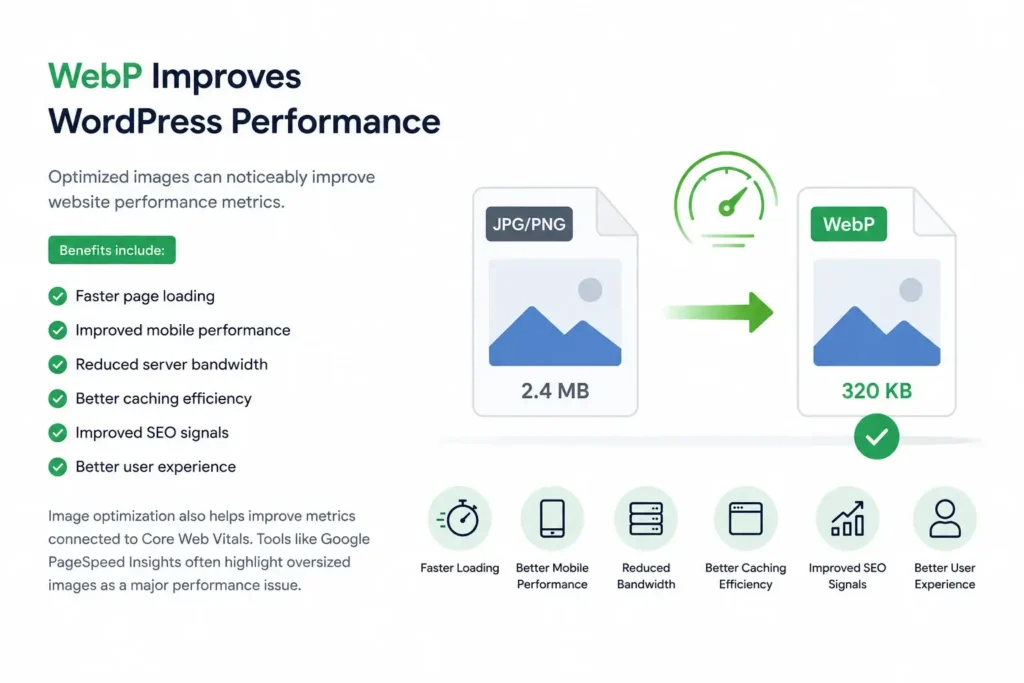
Benefits include:
- Faster page loading
- Improved mobile performance
- Reduced server bandwidth
- Better caching efficiency
- Improved SEO signals
- Better user experience
Image optimization also helps improve metrics connected to Core Web Vitals.
Tools like Google PageSpeed Insights often highlight oversized images as a major performance issue.
Recommended Settings for Different Website Types
Different websites may require different compression levels.
Blog Websites
Recommended quality: 80–85
This range works well for featured images, article thumbnails, and content images.
Photography Websites
Recommended quality: 85–92
Photography portfolios usually need higher visual quality.
eCommerce Stores
Recommended quality: 82–88
Product images should remain clear while still loading quickly.
News & Magazine Websites
Recommended quality: 75–85
Large media-heavy websites often prioritize speed and bandwidth savings.
How Nix Image Optimizer Helps
Nix Image Optimizer simplifies automatic image optimization inside WordPress.
Features include:
- Automatic WebP conversion
- Real-time upload optimization
- Adjustable WebP quality settings
- Bulk image compression
- Media Library optimization
- JPG to WebP conversion
- PNG to WebP conversion
- AVIF support
- Image SEO tools
Instead of manually compressing every image, the plugin automatically handles upload optimization in the background.
Common Mistakes to Avoid
Many website owners either over-compress or under-compress their images.
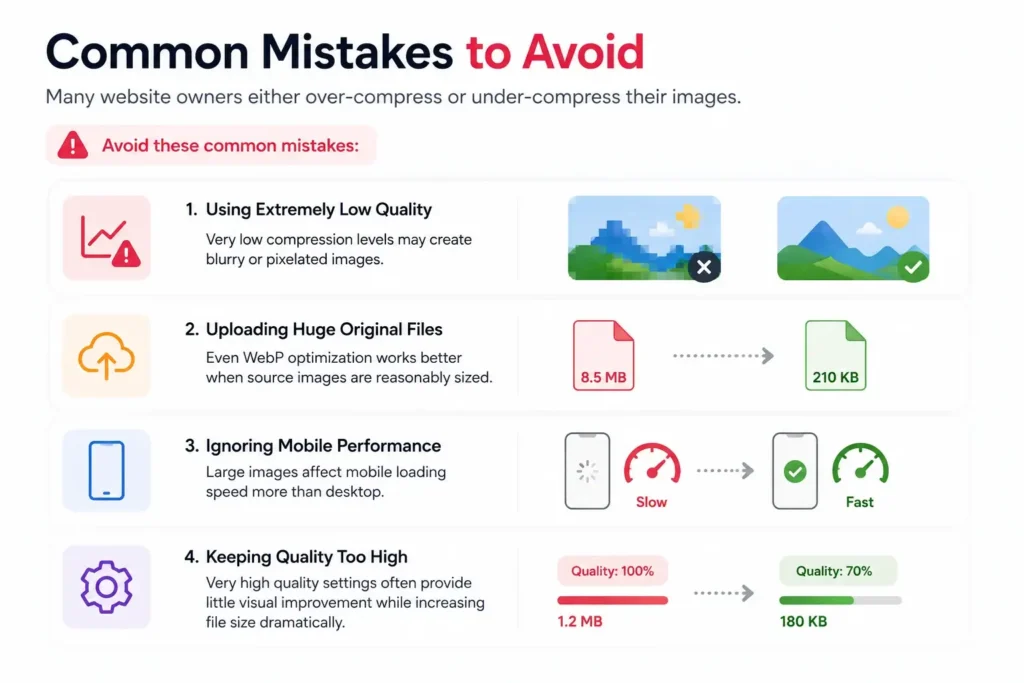
Avoid these common mistakes:
Using Extremely Low Quality
Very low compression levels may create blurry or pixelated images.
Uploading Huge Original Files
Even WebP optimization works better when source images are reasonably sized.
Ignoring Mobile Performance
Large images affect mobile loading speed more than desktop.
Keeping Quality Too High
Very high quality settings often provide little visual improvement while increasing file size dramatically.
Testing Your WebP Quality Settings
The best approach is testing different quality levels on your own website.
You can compare:
- File size differences
- Visual clarity
- Page loading speed
- Mobile performance
- SEO performance scores
Resources like MDN Web Docs provide technical information about modern image formats and compression methods.
Final Thoughts
Finding the right WebP quality settings WordPress websites should use is mostly about balance.
For most sites, a quality range between 80 and 90 provides the best combination of:
- Small file sizes
- Clean visual appearance
- Faster page speed
- Better SEO performance
Using automatic optimization tools like Nix Image Optimizer can make the entire process easier by handling compression and WebP conversion automatically during uploads.
If your goal is better performance without sacrificing image quality, optimizing WebP settings is one of the smartest improvements you can make for your WordPress website.